New Tutorial - How to Set Up Iota.JS for Development
info
In this tutorial you will learn how to create a new project, generate a new address and receive testnet funds from the faucet.
Prerequisites
Development Environment and Libraries
Set Up
Prepare Your Development Environment
- Create a new folder for the tutorial in a location of your choice and navigate to it:
mkdir iota-js-setup
cd iota-js-setup
- Run the Node.js initializer to configure the project:
npm init --yes
- Install the iota.js library and other helper dependencies: :::note
The installation process might take a while
:::
npm install @iota/iota.js@next
npm install bip39 dotenv
Your package.json file should look something like this:
{
  "name": "iota-js-setup",
  "version": "1.0.0",
  "description": "",
  "main": "index.js",
  "dependencies": {
    "@iota/iota.js": "^1.9.0-stardust.25",
    "bip39": "^3.0.4",
    "dotenv": "^16.0.1"
  },
  "scripts": {
    "test": "echo \"Error: no test specified\" && exit 1"
  },
  "author": "",
  "license": "Apache-2.0"
}
Create Mnemonic Script
- Create a new file
create-mnemonic.jsand add the following code:
// Libraries
const bip39 = require('bip39');

// For better readability, some console output will be printed in a different color
const consoleColor = '\x1b[36m%s\x1b[0m';
async function run() {
  // A 256-bits entropy leads to a 24 word mnemonic seed phrase
  const mnemonic = bip39.generateMnemonic(256);
  console.log(
    consoleColor,
    'Copy your mnemonic seed phrase and paste it into the .env file:',
  );
  console.log(mnemonic, '\n');
}
run();
- Run the script
create-mnemonic.jsand check the console output for your new mnemonic seed phrase:
node create-mnemonic.js
- Create a new
.envfile and add your mnemonic:
MNEMONIC = '<add_your_mnemonic_here>';
Create an Address
Create a new file called create-address.js and add the following code:
const { Converter } = require('@iota/util.js');
const { Bip32Path, Bip39 } = require('@iota/crypto.js');
const {
  Bech32Helper,
  Ed25519Address,
  Ed25519Seed,
  ED25519_ADDRESS_TYPE,
  generateBip44Address,
  IOTA_BIP44_BASE_PATH,
  SingleNodeClient,
} = require('@iota/iota.js');

require('dotenv').config({ path: './.env' });

const API_ENDPOINT = 'https://api.testnet.shimmer.network';

async function run() {
  const client = new SingleNodeClient(API_ENDPOINT);

  const info = await client.info();

  console.log('Base');

  // Generate the seed from the Mnemonic
  const baseSeed = Ed25519Seed.fromMnemonic(process.env.MNEMONIC);
  console.log('\tSeed', Converter.bytesToHex(baseSeed.toBytes()));

  // Generate the next addresses for your account.
  console.log();
  console.log('Generated Addresses...');
  const addressGeneratorAccountState = {
    accountIndex: 0,
    addressIndex: 0,
    isInternal: false,
  };
  const path = generateBip44Address(addressGeneratorAccountState);
  const addressSeed = baseSeed.generateSeedFromPath(new Bip32Path(path));
  const addressKeyPair = addressSeed.keyPair();
  const indexEd25519Address = new Ed25519Address(addressKeyPair.publicKey);
  const indexPublicKeyAddress = indexEd25519Address.toAddress();

  console.log(
    '\tAddress (Bech32)',
    Bech32Helper.toBech32(
      ED25519_ADDRESS_TYPE,
      indexPublicKeyAddress,
      info.protocol.bech32Hrp,
    ),
  );
}

run()
  .then(() => console.log('Done'))
  .catch((err) => console.error(err));
If you run it, it will:
- Get your mnemonic from the
.envfile. - Create a seed from it.
- Generate a new address.
Just run the following command, and you will see your testnet shimmer address in your console!
node create-address.js
Request Tokens via the Faucet Website
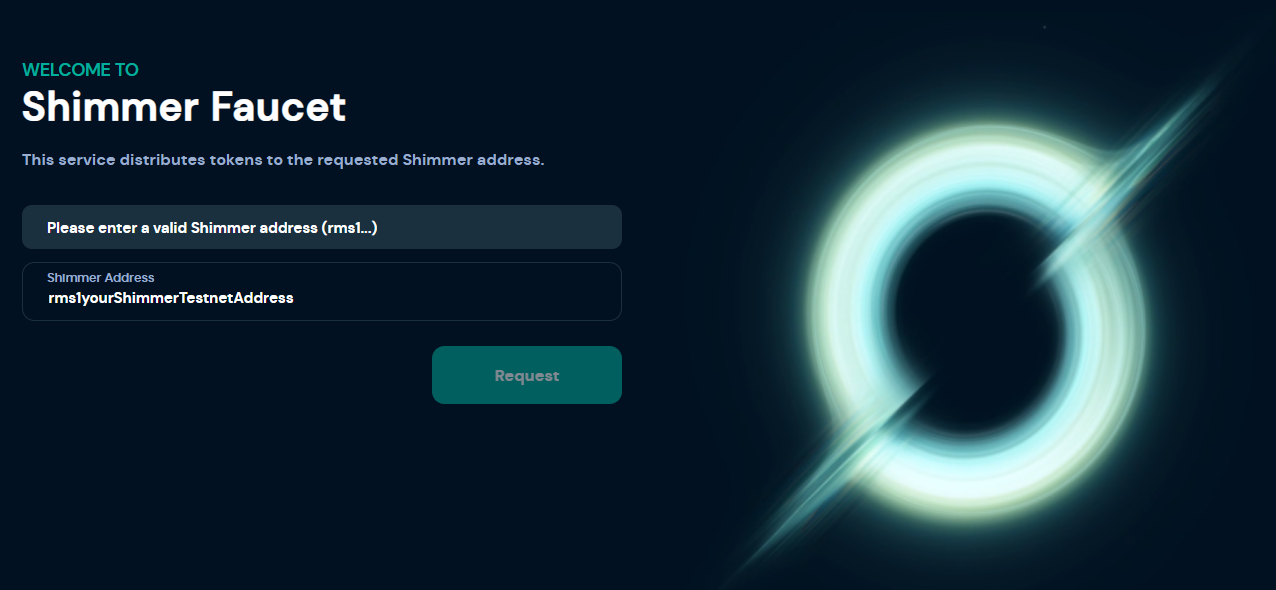
Now, you can go to the Shimmer Testnet Faucet Website, paste your newly created address, and request funds.
note
The 'Request' button will become clickable as soon as a valid Shimmer address is recognized.

Congratulations, you are now ready to explore other exciting features of the Shimmer network, such as native tokens and NFT's.