Edit an Article
You can edit any article in this wiki in six simple steps.
You can create an issue to let the wiki team know what you'd like.
Prerequisites
- A GitHub account.
- Basic Markdown knowledge.
There are plenty of tools to help you improve your writing.
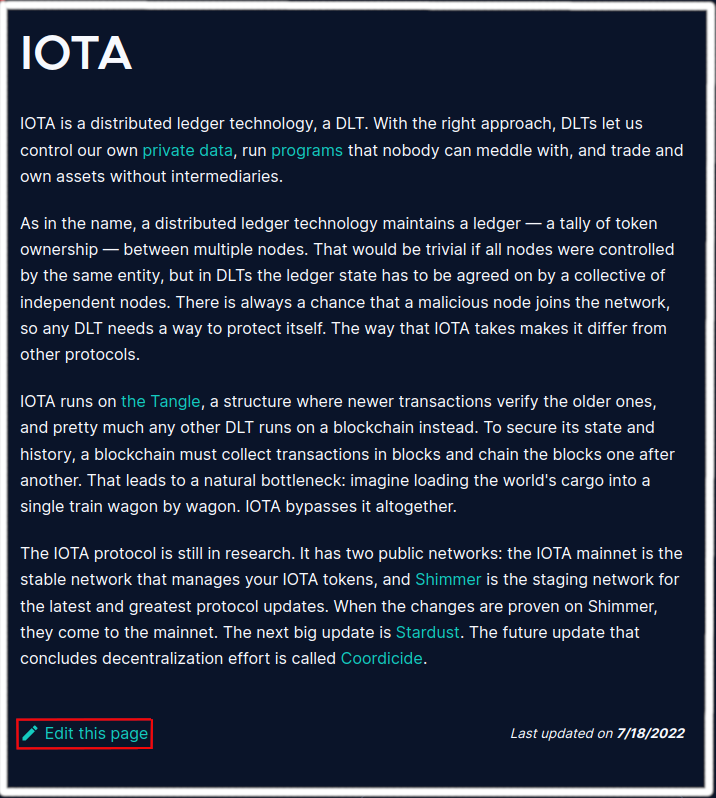
1. Click the Edit this Page Button
Every article in this wiki has an Edit this Page button you can use to automatically create a
fork of the repository you are currently viewing,
and open up an online text editor which you can use to edit content.
2. Update the Article
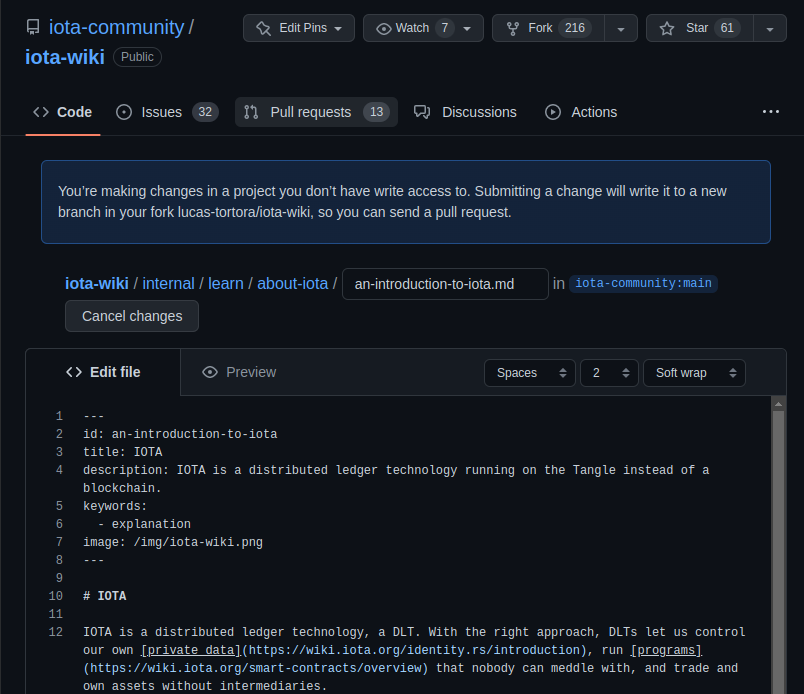
Once you have connected your GitHub account, the editor will open the article, and you are ready to start editing.
2.1 Preview Your Changes
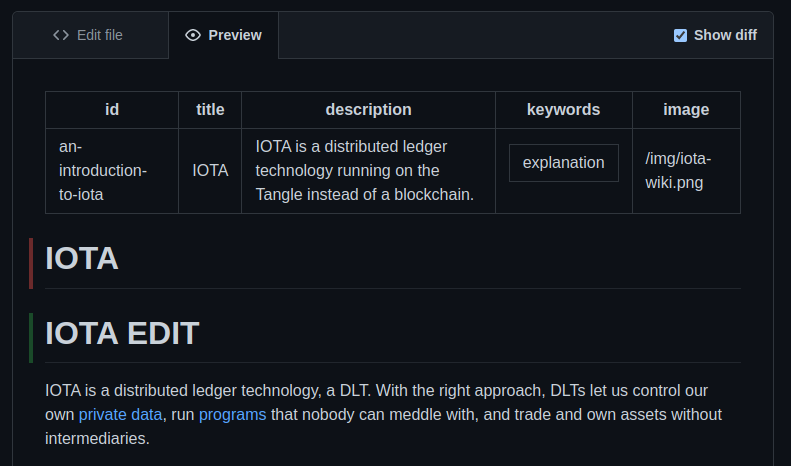
You can use the Preview tab to preview your changes. You can also show the difference between the current article and
your update by checking the Show diff checkbox. Content which is marked in red will be removed, and content which is
marked in green will be added.
3. Propose Your Changes
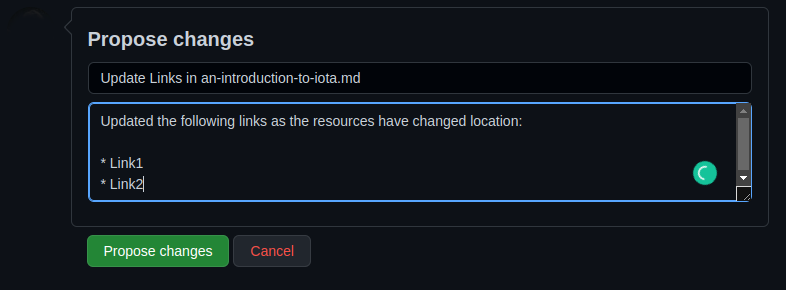
After you have updated the article in any way, the Propose changes button will be
automatically enabled. This button will create the first commit in your
upcoming
pull request
.
To ensure your pull request is successful you should add a descriptive title that explains the motivation for your update. For example:
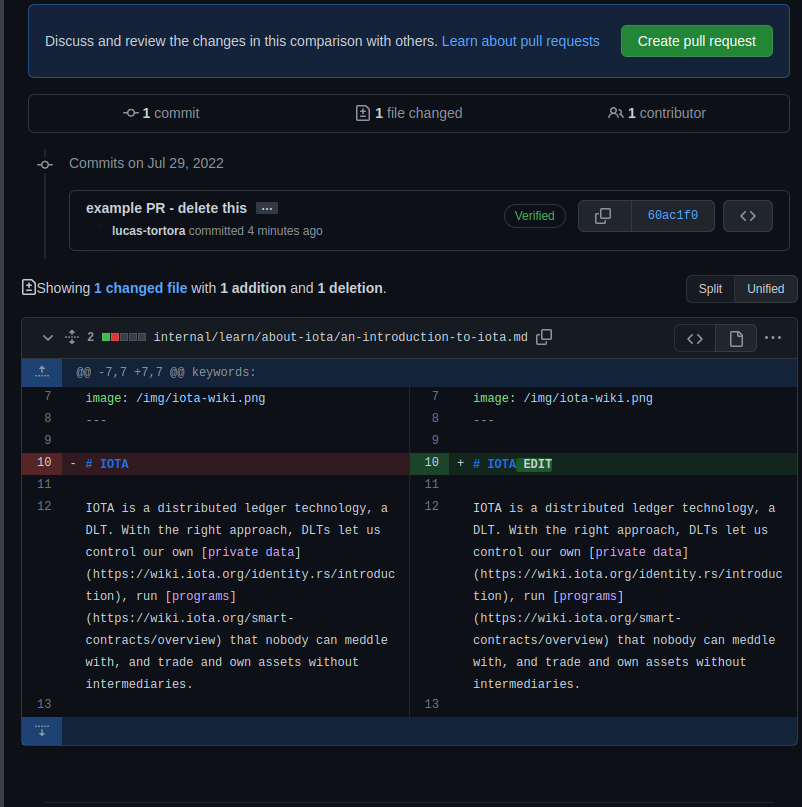
4. Compare Your Changes
Once you click the Propose Changes button you will be directed to a new page in which you will be able to review your
changes side by side with the original. The left side will show the original file, while the right shows the updated
version.
5. Create the Pull Request
Once you are happy with your changes you should draft a pull request by clicking the Create pull request button
located above the side by side editor. The pull request uses a similar editor to the one you used to edit the file in
step 2, so you'll be able to preview your request before submitting it.
The description will be auto-populated with section headers and a small explanation about what you should add to each section. You should add a descriptive tile as well as address any relevant sections to ensure your pull request is successful.
Template Sections
Description of change
This is the most important section in the template. Make sure that you include all your updates and the motivation behind them in this section.
Links to any relevant issues
If you have created an issue, or are working on an existing issue, please add it here so the pull request can be linked to the issue.
Type of change
You should delete the types which don't apply to your changes in this section.
How the change has been tested
Please add any details on any test you run here. If you haven't tested anything, please clarify it here, the repositories will automatically test any pull requests for build errors.
Change checklist
You should check the boxes that apply to your changes, and delete the others.
6. Submit the Pull Request
Once you have updated the title and description, you can click the Create pull request button. This will submit the
pull request, but it will not be merged until the project maintainers approve it. This may take some time, and they may
request or suggest changes to your pull request.